UI Builder quickstart
Agora Flexible Classroom UI Builder is a low code method of generating a customized classroom. It enables you to drag widgets in order to design a UI and customize the theme of your classroom. You can enable or disable features by checking boxes in the scene builder interface. After completing the design, you deploy the project or download a zip archive containing customized source code for several platforms.
This page shows you how to create, deploy and test a custom classroom built with UI Builder.
Understand the tech
UI Builder is a web interface you use to rapidly create and deploy a custom classroom:
You use UI Builder to:
- Create a classroom from a template for a scenario.
- Customize the scenes in the classroom.
- Drag the desired functionality into your scenes.
- Customize the look and feel of your classroom.
- Preview the web version of your classroom.
- Download the code and run this classroom on a device or a web server.
Prerequisites
In order to follow this procedure you must have:
- Android Studio 4.1 or higher.
- Android SDK API Level 24 or higher.
- A mobile device that runs Android 4.1 or higher.
-
A computer with Internet access.
Ensure that no firewall is blocking your network communication.
- Enabled Flexible Classroom in Agora Console.
Create and integrate a classroom using UI Builder
UI Builder enables you to set up a customized classroom in minutes. This section shows how to use UI Builder to create a custom classroom and deploy it on the platform of your choice.
Create a classroom
To design a custom classroom with UI Builder:
-
Start a UI Builder session
In your web browser, navigate to the Flexible Classroom UI Builder and press Try it now.
If you are not logged in to Agora Console, you are asked to login:
-
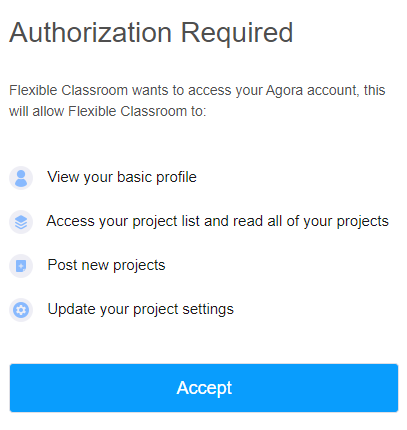
Give the following authorization:
-
Press Accept.
You are returned the main UI Builder page.
-
Press Try it now button again.
-
-
Create a project
In the following screen, enter a name for your project, then press Create a project.
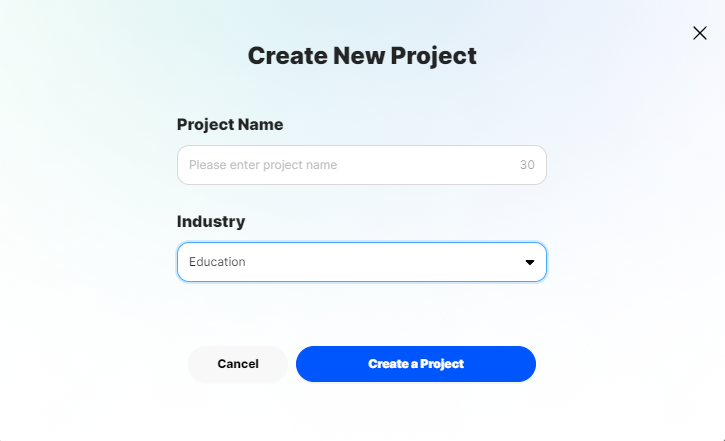
UI Builder creates a new project under My Projects.
-
Open your project
Select the project you created and press Edit. UI Builder opens a new tab at the scene editor.

-
Create a scene
-
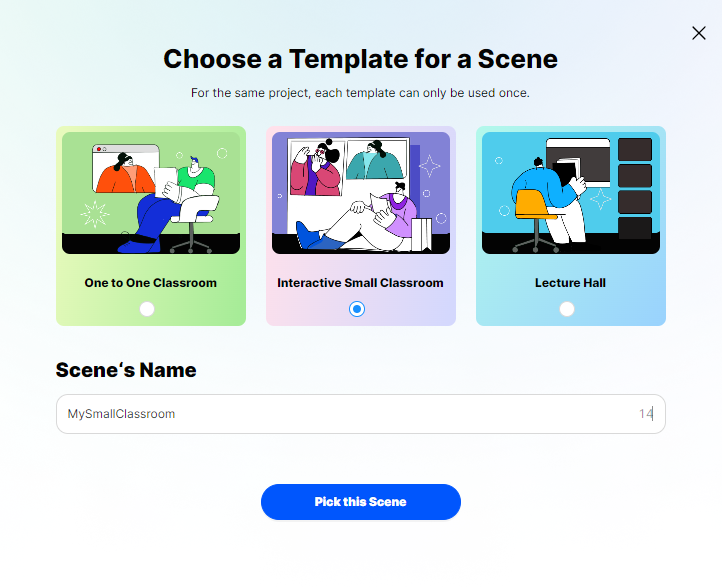
Press Create new scene, then choose a template based on the number of expected participants in your classroom. For the purpose of this demo, select Interactive Small Classroom.
-
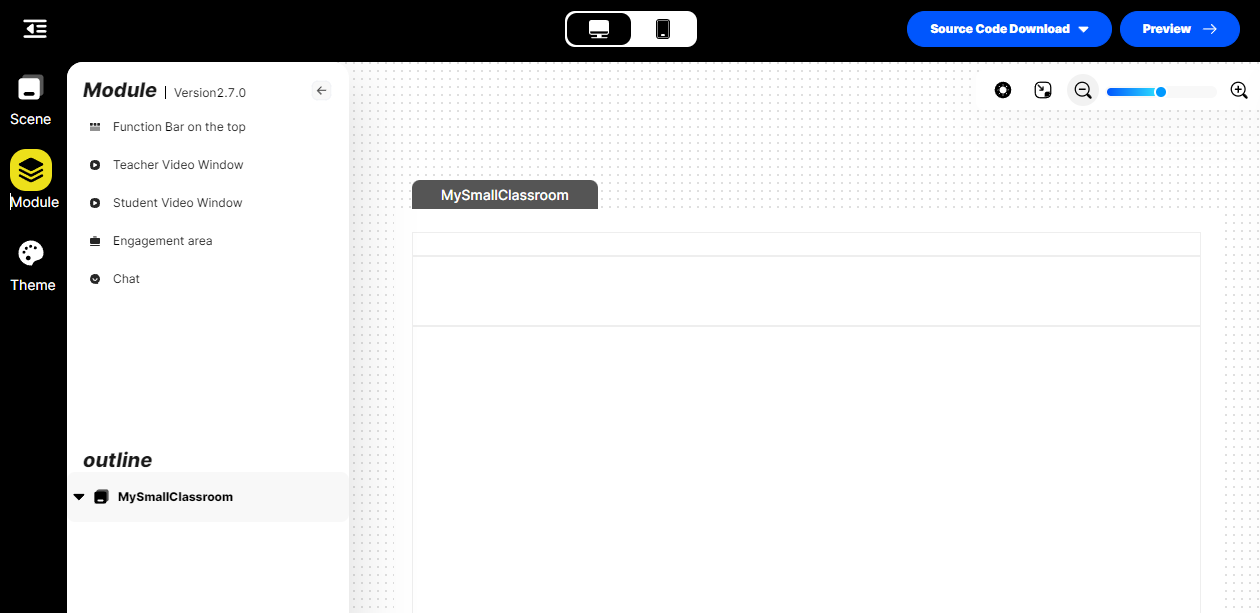
Enter a name for the scene and press Pick this scene. UI Builder opens the scene editor.
-
-
Add modules to your scene
-
Press Module. You are presented with the following module options:
- Function Bar on the top
- Teacher Video Window
- Student Video Window
- Engagement Area
- Chat
-
Add a function bar.
-
Drag the Function Bar module to the top panel of your scene. The top panel displays the network state icon, room name and schedule time for the classroom.
-
Select the Function Bar, you see configurable options in the panel on the right. Check or uncheck options to configure your function bar.
-
-
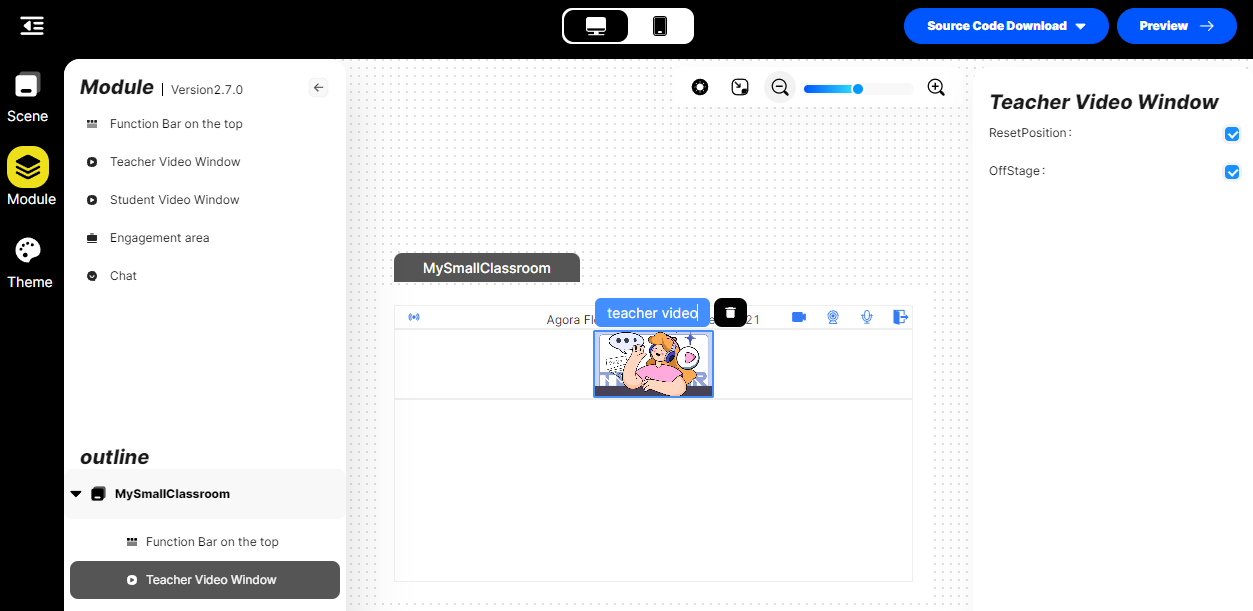
Add a Teacher Video Window.
-
Drag the Teacher Video Window to the second panel of your scene.
-
Select the Teacher Video module to display configuration options in the panel on the right. Check or uncheck options to configure the module.
-
-
Add a Student Video Window.
-
Drag the Student Video Window to the second panel of your scene.
-
Select the Student Video module to display configuration options in the panel on the right. Check or uncheck the following options to configure the module:
- Camera
- Microphone
- Board Authorization
- Reward
- OffStage
-
-
Add an Engagement Area.
-
Drag the Engagement Area module to the third panel of your scene.
-
Select the newly created module to display configuration options in the panel on the right. Check or uncheck the following options to configure the Engagement Area module:
- Netless Board
- Cloud Storage
- Roster
- Counter
- Popup Quiz
- Poll
- Screen Share
- Breakout Room
- Laser Pointer
- Raise Hand
- Agora Chat
-
Your completed scene looks like:
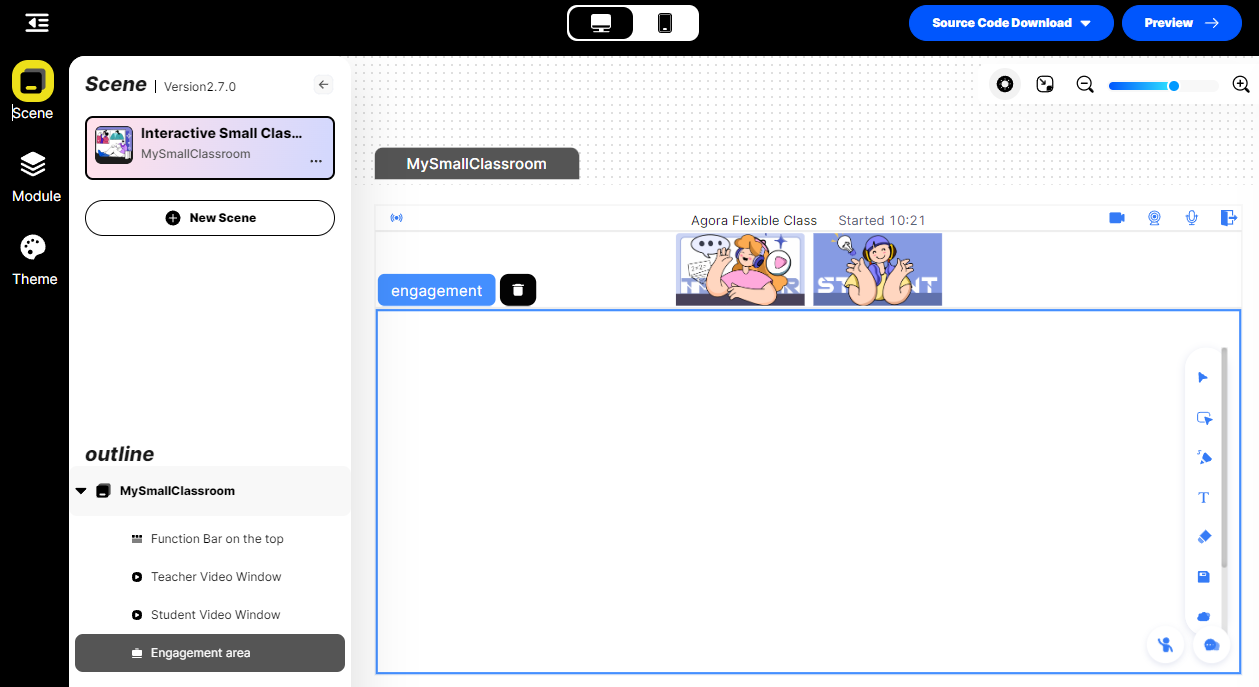
-
-
Choose your theme
-
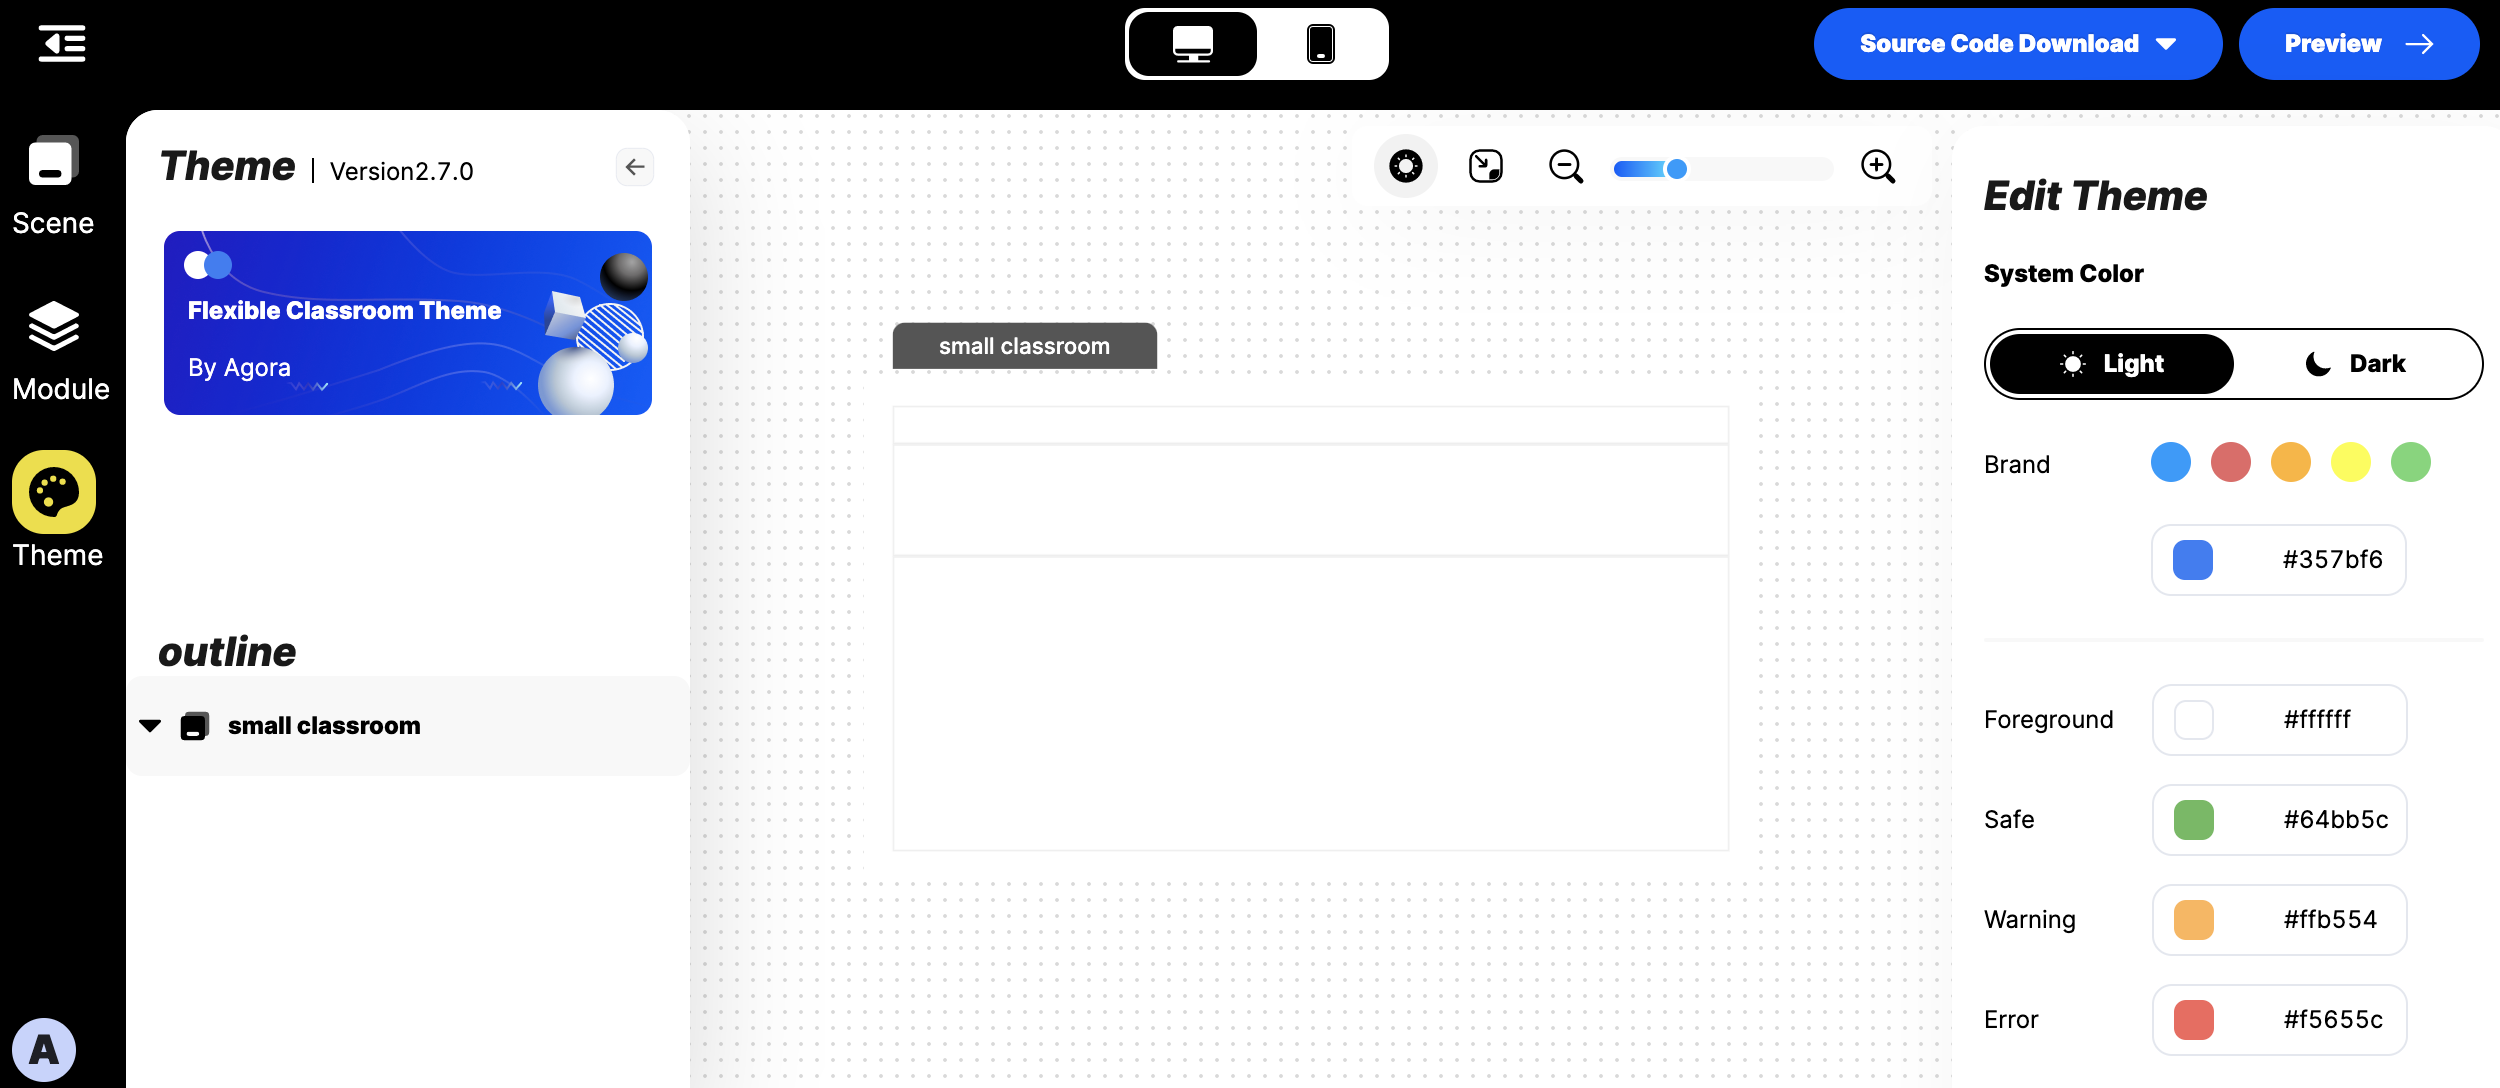
Press Theme. You see options to change system colors in the panel on the right.
-
Choose the Light or Dark theme and select colors to customize your classroom UI.
-
Integrate your classroom
When you have selected the desired features and created the look and feel for your classroom, you use UI Builder to generate source code that runs the classroom on a web server or on your users devices. To do this:
-
Press Source Code Download in UI Builder.
You are presented with the following options:
- Styling only
- Full source code
-
Select Full source code.
UI Builder takes a few seconds to generate your custom code and then prompts you to download a
zipfile. -
Save the file on your development machine.
If you make styling changes to your classroom later on, download the Styling only code and merge it with the Full source code to integrate these changes.
-
Unzip the archive and navigate to the folder
\android\CloudClass-Android. -
Follow the steps to Launch a Flexible Classroom
Test your classroom
Best practice is to run this project on a physical mobile device. Some simulators may not support the full features of this project.
To test your customized Flexible Classroom:
-
Open your classroom as the teacher
-
In UI Builder, press Preview .
UI Builder prepares a web preview version of the classroom and takes you to the login screen.
-
Fill in the room name, select the Teacher role then press Enter.
The classroom is created.
-
Ensure that your camera and microphone are working properly.
Check the device settings, then press Finish. The settings window closes.
-
Start your classroom session
Press Begin Class.
-
-
Open the classroom as a student
-
Compile and run the downloaded code on a second device.
-
launch the classroom.
-
Enter the same room name and join the classroom as a Student.
You see the content from the Teacher and participate in classroom activities.
-
Reference
This section contains information that completes the information in this page, or points you to documentation that explains other aspects to this product.
- To ensure communication security in a test or production environment, use of a token server to generate tokens is recommended. See Secure authentication with tokens.